These chocolate Smarties cupcakes are an easy, nostalgic bake that everyone will love! Made with simple ingredients and topped with milk chocolate, perfect if you’re not a fan of buttercream.

Chocolate Smarties Cupcakes
These chocolate Smarties cupcakes are a nostalgic bake that Brings joy to both kids and adults! They’re soft, fluffy, easy to make, and topped with Milk chocolate instead of buttercream! Ideal if you’re not a fan of overly sweet frosting.
My partner and I absolutely love these cupcakes! We were huge fans of the original Smarties cupcakes back in the day, and were so disappointed when they were discontinued. But not to worry, these homemade chocolate Smarties cupcakes taste just like the childhood classic! They’re incredibly easy to make, beginner-friendly, and use simple everyday ingredients. Plus, they’re soft, chocolatey, and topped with that nostalgic crunch of colourful Smarties. One bite and you’ll be right back in your childhood!
Whether you’re baking for a party, school treat, or a rainy afternoon activity, these cupcakes are a guaranteed crowd-pleaser. Best of all, they use everyday ingredients and come together in 30 minutes!

Why You’ll Love This Recipe
- Nostalgic treat– Just like the smarties cupcakes you had growing up!
- Simple ingredients– These cupcakes are made with simple ingredients that you probably already have in your cupboards!
- No buttercream– Perfect for those who don’t like buttercream!
- Great for kids– This recipe is perfect for getting the kids involved in baking during the school or summer holidays! It’s a fun, hands-on activity that they’ll love helping with, from mixing the batter to decorating with Smarties. And the best part? They get to enjoy their delicious creations afterwards! It’s a win-win for everyone!
- Quick and easy Recipe– Ready in under an hour.

Ingredients
- Butter or Baking Spread– For these cupcakes, I always use a baking spread like Stork. I find it gives the cupcakes a beautifully soft and fluffy texture. If you prefer a slightly denser sponge with a richer flavour, you can absolutely swap in unsalted butter. It’s all about your personal preference!
- Light Brown Sugar– Instead of regular caster sugar, I use light brown sugar in my chocolate sponge. It adds a deeper, slightly caramelised flavour that really enhances the chocolate, making your cupcakes even more indulgent.
- Eggs– This recipe calls for large eggs, which provide structure and moisture to the batter. Make sure they’re at room temperature for best results!
- Self-Raising Flour– Self-raising flour helps the cupcakes rise perfectly. If you don’t have any on hand, don’t worry, you can make your own by combining 200g of plain flour with 2 teaspoons of baking powder, then measuring out what you need.
- Cocoa Powder– I love using Food Thoughts cocoa powder in this recipe, it’s rich, high-quality, and gives the cupcakes a deep chocolate flavour. You can use your favourite cocoa powder, just make sure it’s unsweetened.
- Milk Chocolate– These cupcakes are topped with a layer of silky melted milk chocolate, which makes them super nostalgic just like the classic Smarties cupcakes we all remember. You could easily swap for dark or white chocolate if you’d prefer!
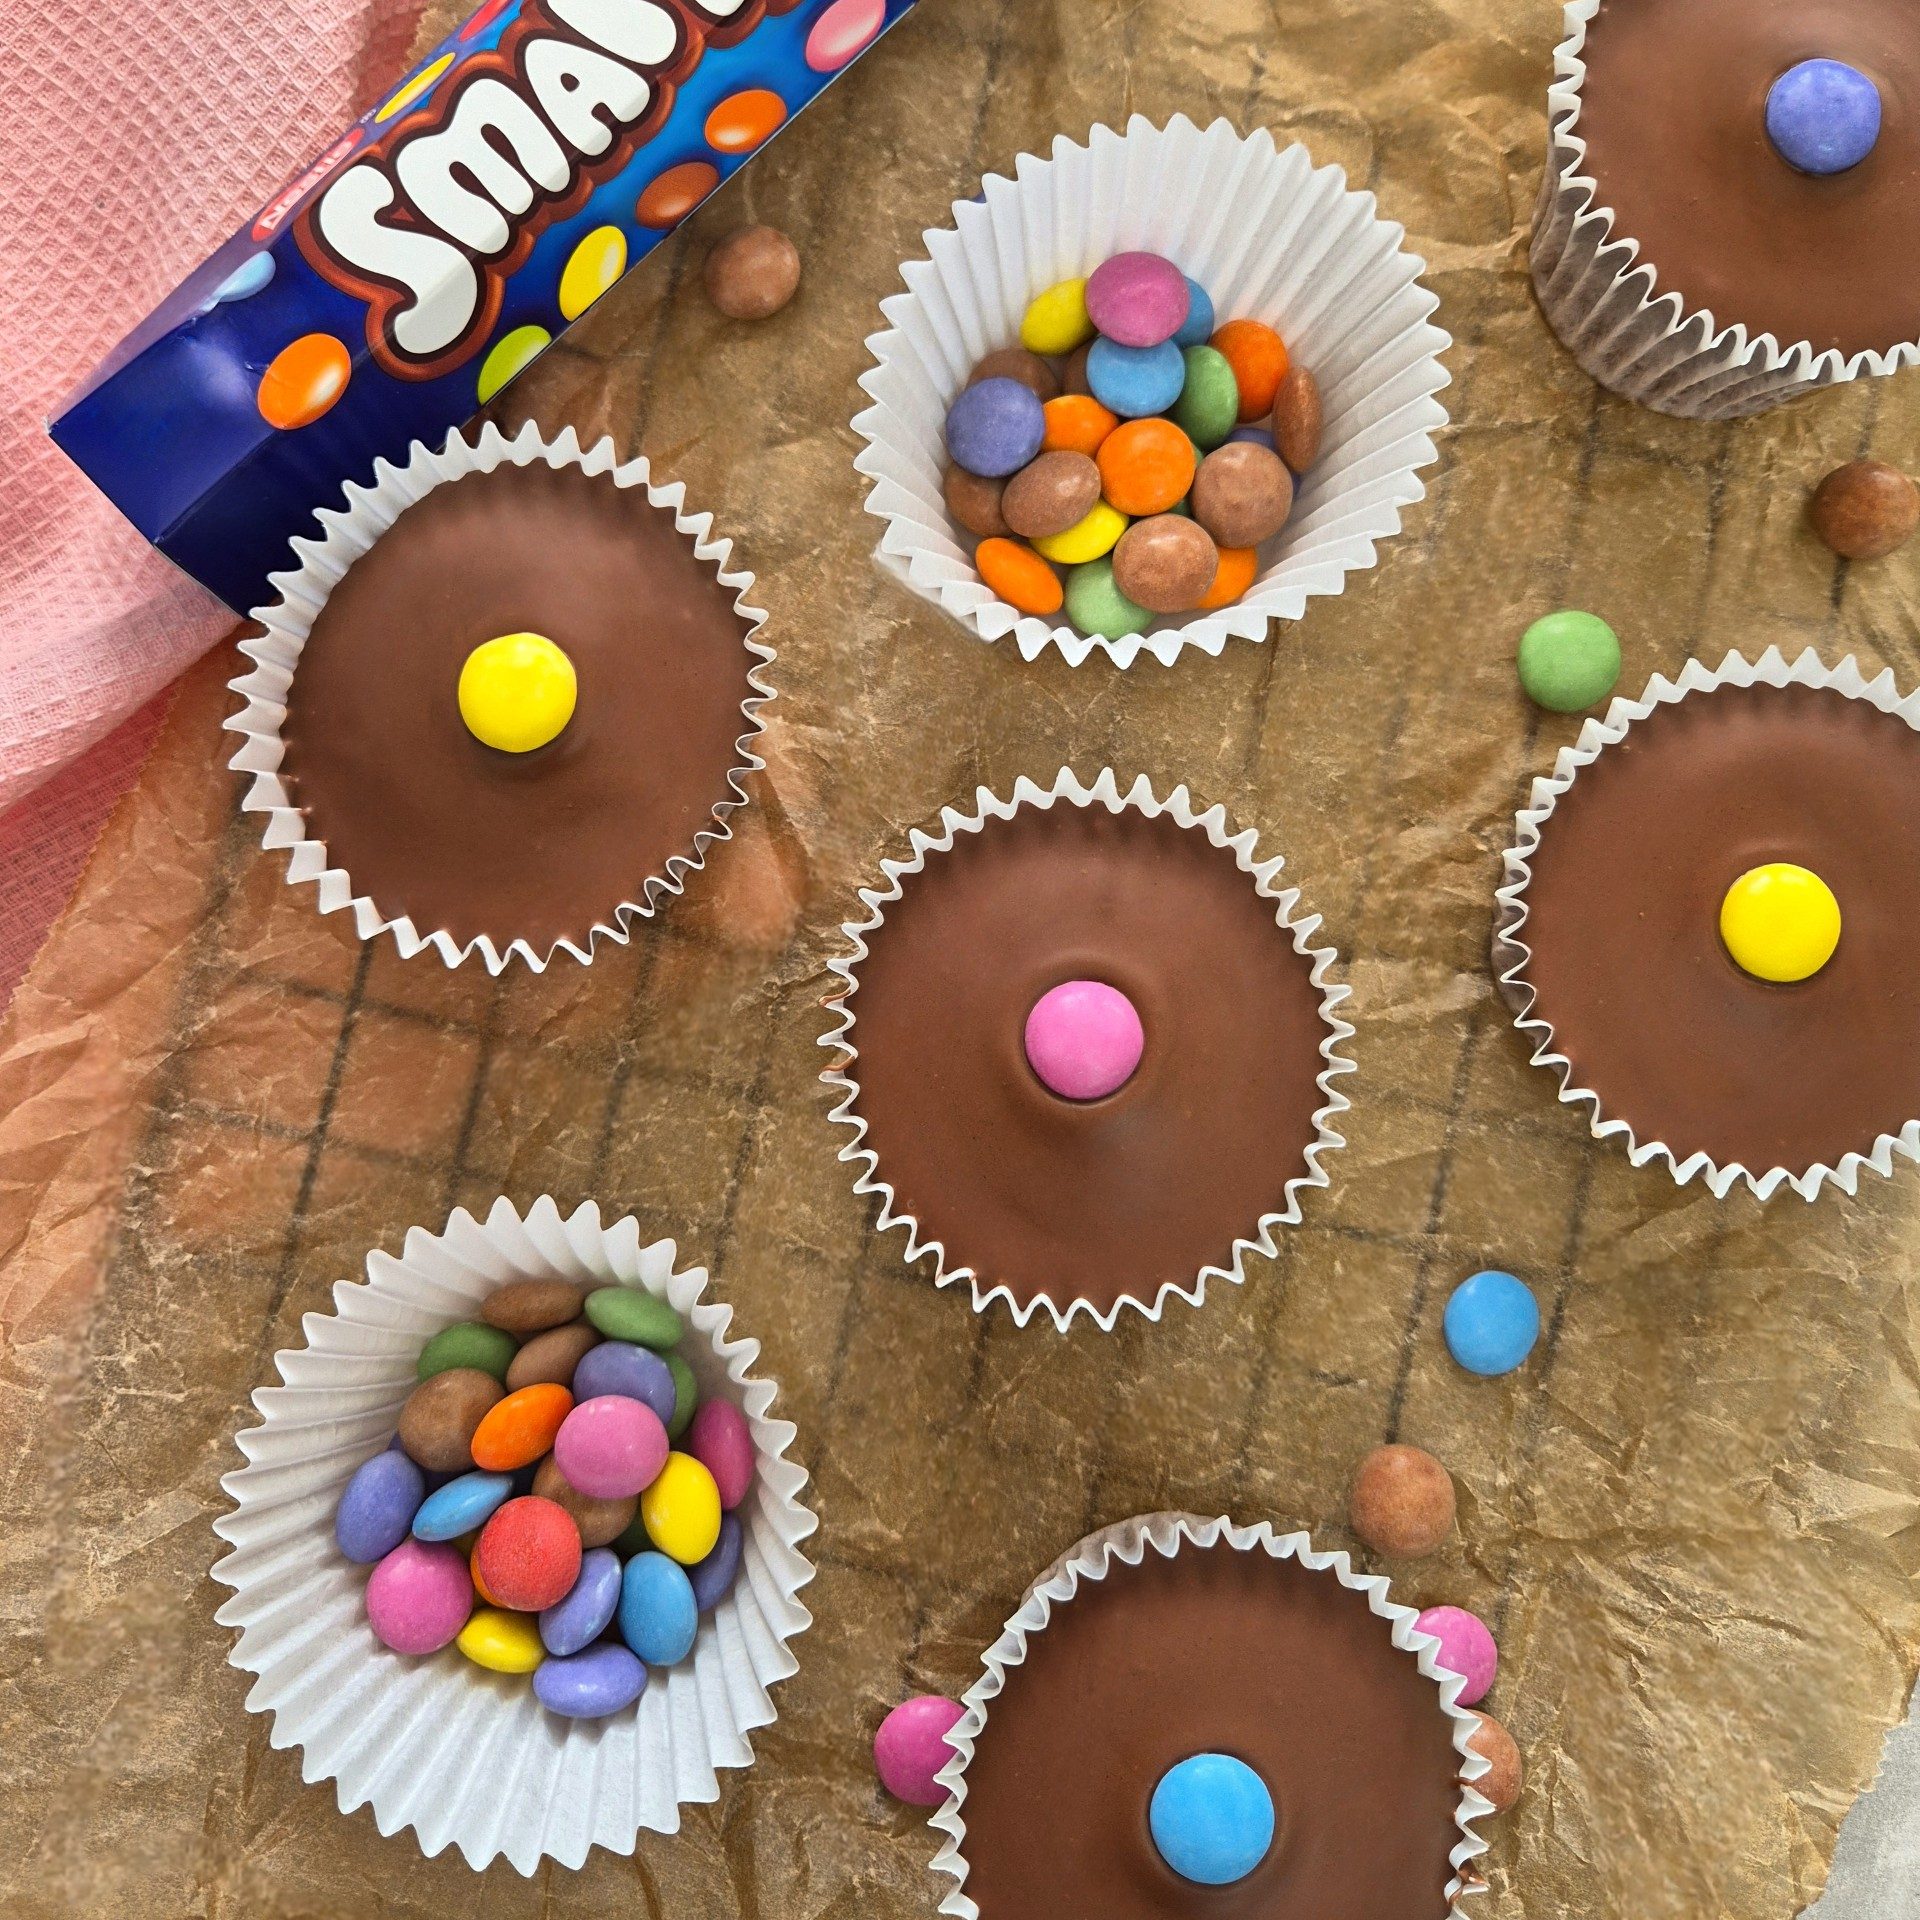
- Sprinkles or Smarties– I used classic Smarties for that iconic look and crunch. They’re perfect for birthdays, holidays, or school bake sales.

Tips & Tricks
- Use room temperature ingredients for a smoother, more even batter.
- Don’t over-mix your batter, mix just until combined to keep cupcakes soft.
- Let the cupcakes cool completely before topping with chocolate to avoid melting issues.
- You can swap Smarties for M&Ms or other colourful candy-coated chocolates.
Frequently Asked Questions
Can I freeze these cupcakes?
Yes! Freeze the plain, undecorated cupcakes. Thaw and add the chocolate topping and Smarties once defrosted.
Can I use a different topping?
Of course! You could try Nutella, white chocolate ganache, or even a marshmallow fluff topping for a twist.
What if I only have plain flour?
Add 2 tsp of baking powder to every 200g of plain flour to create your own self-raising flour substitute.
Why did my cupcakes sink in the middle?
This is often caused by over-mixing the batter, under-baking, or opening the oven door too early. Make sure to mix until just combined and bake until a skewer comes out clean.
Why did my smarties lose their colour?
If you add Smarties while the melted chocolate is too warm, the colours may run. Let the chocolate cool slightly before adding them to keep their colour vibrant and intact.
Can I make these gluten-free?
Yes, you can substitute the self-raising flour with a good-quality gluten-free self-raising blend. Just make sure it’s a 1:1 substitute and contains a leavening agent.
Storage
Store your Smarties cupcakes in an airtight container at room temperature for up to 3 days. You can also refrigerate them if your kitchen is particularly warm.

Recommended Equipment
- Cupcake Cases
- Cocoa Powder
- Cupcake Tin
- Stand mixer
- Electric hand whisk
- Vanilla Extract
- Mixing Bowl Mine is pink of course!
- Scales
I earn a small amount of money if you buy the products after clicking on the links. You will not be charged anything extra for this! Thank you for supporting biteofthebakes!
Pin It
Love nostalgic bakes? Make sure to subscribe to my email list for more easy, family-friendly recipes delivered weekly!

If you’ve made these cupcakes Id love to see them! Tag @biteofthebakes on Instagram or use #biteofthebakes so I can see your delicious recreations!
Share your bake with our community over on Facebook!
Recommended


Smarties Cupcakes
Ingredients
- 175g Baking Spread
- 175g Light Brown Sugar
- 3 Large Eggs
- 140g Self Raising Flour
- 35g Cocoa Powder
- 3 tbsp Milk
- 200g Chocolate Topping
- 12 Smarties
Instructions
- Preheat your oven to 180C (Gas mark 4) and line your muffin tray with 12 cupcakes/muffin cases.
- Cream together your sugar and baking spread/butter with a hand whisk or stand mixer (using the paddle attachment) until combined and smooth.
- Add in your eggs, self raising flour, milk and cocoa powder and beat for around 30 seconds, you don't want to over mix your batter as this will make your cupcakes heavy and dense.
- Scoop the mixture evenly into 12 cupcake/muffin cases. I like to use a medium ice-cream scoop to do this as I find it gives me 12 even cupcakes perfectly but you can use a spoon to scoop out your mixture. (You will want to fill them up half way to give enough room for the chocolate layer).
- Bake your cupcakes in the oven for 18-20 minutes. Once baked, I like to poke a little toothpick into one of the cupcakes to check they are baked. If the toothpick comes out clean, this means they are done!
- Remove your cupcakes from the muffin tin and place onto a cooling rack to let cool fully before decorating.
- Melt your chocolate in a microwaveable bowl. Top your cupcakes to the top of the muffin cases with melted chocolate, decorate with smarties and set in the fridge until the chocolate has set!
- Finally, tuck into one of those delicious cupcakes!
Notes
- These cupcakes will last in an air tight container for 2-3 days.
- I use a 5 cm ice-cream scoop to evenly portion my batter.
- I use Dr. Oetker white muffin cases for my cupcakes.
- If you find the batter becomes curdled, add 1tsp of self raising flour at a time until it is no longer curdled.
Ps. Are we friends over on Instagram?
If you try this recipe, share it with me on Instagram @biteofthebakes or use the hashtag #biteofthebakes so I can see all your creations!