Light and fluffy Halloween doughnuts. A fun, spooky dessert both kids and adults will love! Perfectly fried and decorated for the Halloween season.

Halloween Doughnuts
If there’s one thing that screams Halloween baking fun, it’s doughnuts but not just any doughnuts! These light and fluffy Halloween doughnuts are soft, golden, and deliciously sweet, with endless decorating possibilities. Whether you’re baking for a Halloween party, packing treats for kids’ lunchboxes, or simply looking for a cosy autumn dessert, these homemade doughnuts will be a spooky hit with both kids and adults alike!
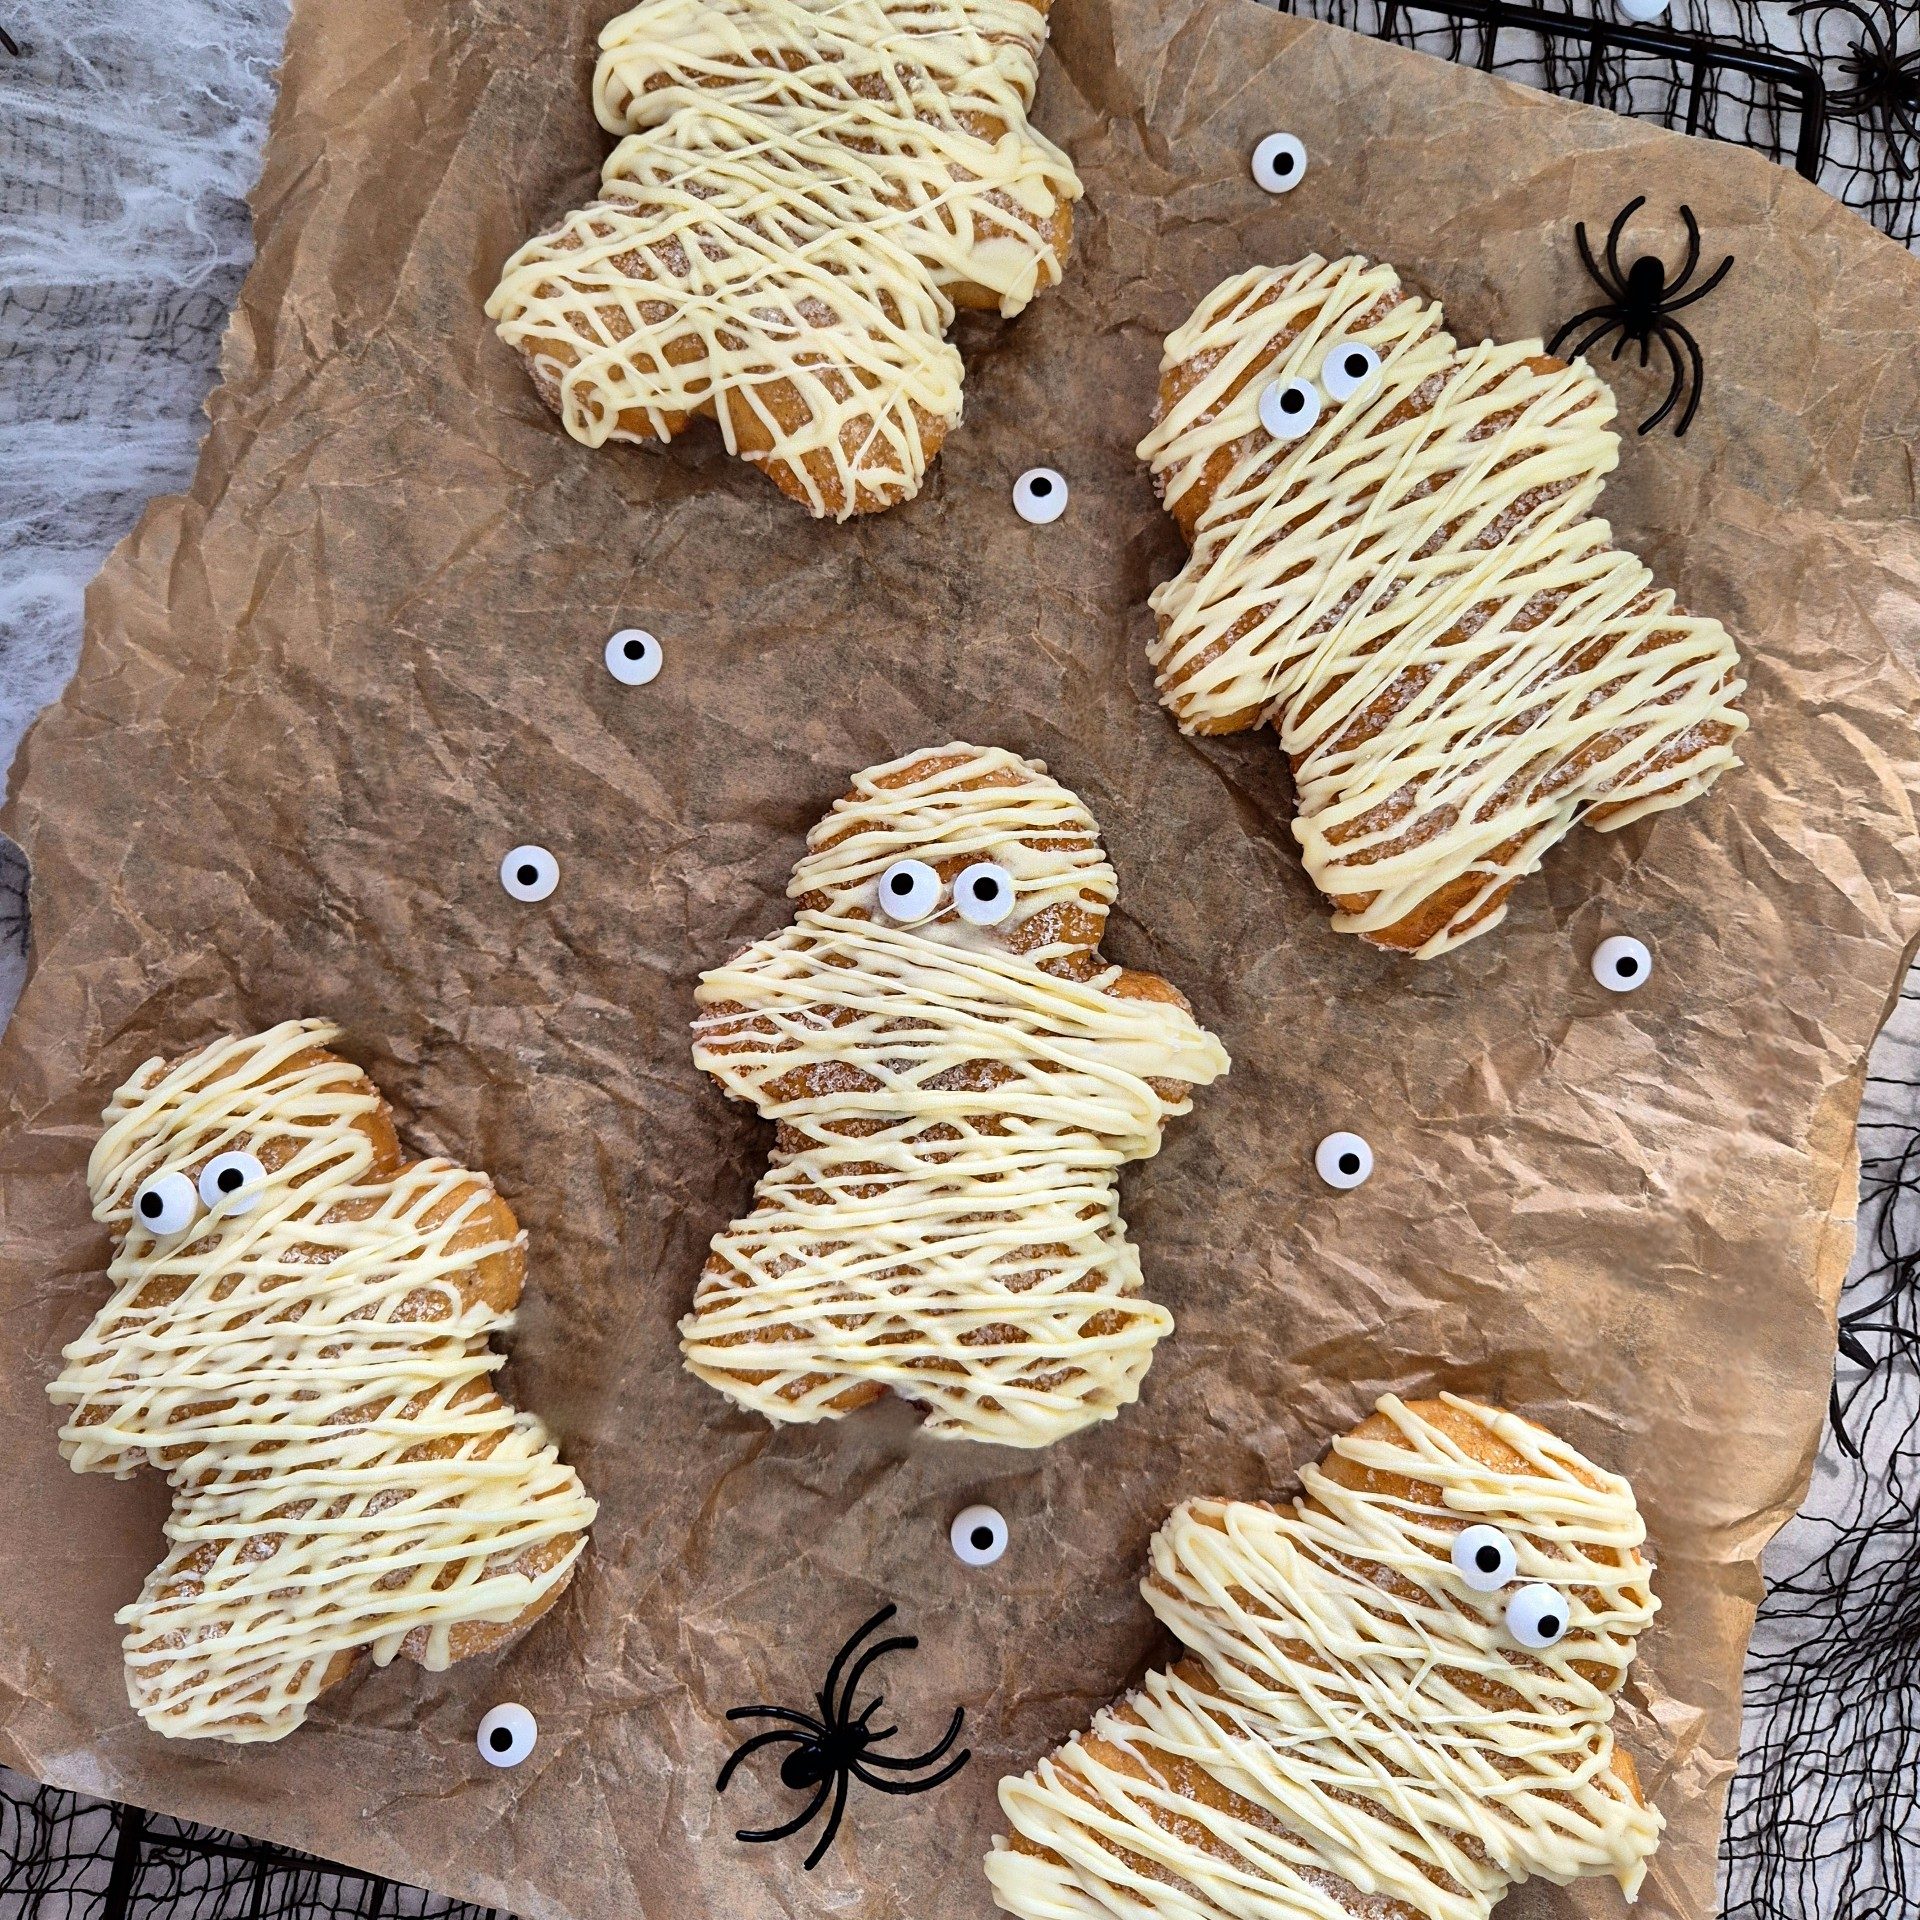
I was totally inspired by The Great British Bake Off when they made doughnuts as the technical challenge this week! Since I’m trying to bake along with all the GBBO recipes this year, I just had to give them a go and that’s how these Halloween mummy doughnuts were born. They were honestly so easy to make and such a fun Halloween bake to decorate.
Now, I’ll be honest frying doughnuts can feel a little scary (not just at Halloween!) because of the hot oil, but trust me, it’s worth it. I recommend investing in a small deep fat fryer if you can, I picked up a cheap one from Argos and it’s been a game changer. I can only cook one doughnut at a time, but I don’t mind that at all, it makes the whole process a little calmer and less messy.

Why You’ll Love These Halloween Doughnuts
- Light & Fluffy Texture– Perfectly soft inside with a golden, crisp exterior.
- Customisable– Decorate as mummies, ghosts, pumpkins, or monsters for a spooky twist.
- Kid & Adult Approved– Fun to make and even more fun to eat!
- Perfect for Parties– Great dessert for Halloween gatherings or themed bake sales.

Ingredients You’ll Need for These Halloween Doughnuts
- 200g Strong white flour– The higher protein content in strong flour helps give the doughnuts a light, chewy texture while still keeping them fluffy. Essential for that bakery-style doughnut feel.
- 200g Self-raising flour– Adds an extra lift to your dough, helping your doughnuts puff up beautifully when fried for that classic airy doughnut bite.
- 5g Sachet fast-action dried yeast– Yeast is what makes the dough rise and gives doughnuts their soft, pillowy structure. Fast-action yeast works quickly and consistently.
- ¾ tsp Salt– Balances the sweetness and enhances the overall flavour of the dough. Don’t skip it — it makes a huge difference!
- 200ml Whole milk (warmed)– Activates the yeast and adds richness to the dough, making the texture soft and tender.
- 50g Unsalted butter (softened)– Adds moisture and flavour to the dough, helping create that melt-in-your-mouth texture we love in doughnuts.
- 75g Beaten eggs– The eggs provide structure, moisture, and a golden colour to the doughnuts. They also help bind all the ingredients together.
- 20g Golden Syrup– Adds a gentle natural sweetness and keeps the dough moist. Plus, it enhances the golden colour when fried.
- 1 tbsp Sunflower oil– Helps keep the dough light and prevents it from drying out. Also useful for kneading!
- 1 tsp Vanilla extract– Adds that warm, sweet aroma and flavour that pairs perfectly with the fried dough and icing decorations.
- White Chocolate– For drizzling the doughnuts as mummies.

Tips & Tricks
- Proof Your Dough Properly– Let your dough rise in a warm, draft-free spot until it doubles in size (about 1–2 hours). This step is crucial for fluffy, airy doughnuts. If your kitchen is cool, you can place the bowl in an oven with the light on (but turned off) to help it rise.
- Use the Right Flour Mix– The combination of strong white flour and self-raising flour gives your doughnuts structure and softness. Strong flour builds gluten for that bakery-style chew, while self-raising flour ensures a soft, tender crumb.
- Use a thermometer to ensure oil stays around 175°C/347°F too hot, and they’ll burn before cooking through.
- Fry only 1–2 doughnuts at a time. This keeps the oil temperature steady and helps your doughnuts stay perfectly round and fluffy.
- After frying, place your doughnuts on paper towels to remove any excess oil. This keeps them crisp and light instead of greasy.
- Decorate with Halloween-themed colours like orange, purple, and black for a different festive look.
- Doughnuts are best eaten fresh but can be stored in an airtight container for up to 2 days.
- These are also freezer-friendly, freeze plain doughnuts and decorate after thawing.
- Keep leftover doughnuts in an airtight container at room temperature for up to 2 days, or freeze for up to 2 months. Warm them in the microwave for 10 seconds before serving to revive that fresh texture.
- These doughnuts are perfect for kids’ Halloween parties, after-school snacks, or lunchboxes. Let little ones help with cutting shapes and decorating their own spooky creations!
- You can prepare and prove your dough in a bread machine if you have one!

Frequently Asked Questions
Can I make these doughnuts in advance?
Yes! Fry or bake the doughnuts the day before and decorate them fresh on the day of serving.
What decorations work best for Halloween?
Use melted chocolate for mummies and candy eyes for spooky ghosts!
Can I freeze the doughnuts?
Yes! Freeze undecorated doughnuts in an airtight container for up to a month.
What’s the best oil for frying doughnuts?
Use a neutral oil with a high smoke point, such as sunflower, vegetable, or canola oil. These oils don’t affect the flavour and heat evenly for golden, crispy doughnuts.
Why did my doughnuts turn out dense or heavy?
Dense doughnuts usually mean the dough wasn’t proofed long enough or the oil was too cool during frying. Make sure your dough doubles in size before frying and that your oil stays between 170–175°C for a light, fluffy texture.
How long do homemade doughnuts last?
Homemade fried doughnuts are best eaten fresh on the day you make them, but they’ll keep for 1–2 days in an airtight container. For longer storage, freeze them for up to 2 months and reheat in the microwave before serving.
Can I fill these doughnuts?
Absolutely! Once cooled slightly, use a piping bag to fill your doughnuts with jam, Nutella, Biscoff spread, custard, or cream for an extra indulgent Halloween treat.
Recommended Equipment
- Electric hand whisk
- Stand mixer (Use code BITEOFBAKES for 20% off!).
- Stand Mixer I use For Dough.
- Bread Maker– I sometimes like to prove my doughnut dough in here! Use code BITEOFBAKES for 20% off!
- Edible Eyes
- Gingerbread Cutter
I earn a small amount of money if you buy the products after clicking on the links. You will not be charged anything extra for this! Thank you for supporting biteofthebakes!

Pin It
These homemade Halloween doughnuts are the ultimate spooky season treat, light, fluffy, and packed with fun! Whether you decorate them as ghosts and mummies, they’re sure to bring smiles to every face. Perfect for Halloween parties, lunchbox snacks, or after-school treats, these doughnuts are a must-bake this autumn.

Loved these Halloween doughnuts? Don’t forget to leave a comment and star rating below! Share your cookie creations with me on Instagram @biteofthebakes or use the hashtag #biteofthebakes I’d love to see them!
Share your bake with our community over on Facebook!
Don’t want to miss a delicious dessert recipe? Subscribe here to get notified when a new recipe comes to the blog!
More Halloween Recipes


Recommended


Mummy Doughnuts
Equipment
- Stand Mixer (With a dough hook).
- Gingerbread Cutter (Or any other shape you'd like).
- Deep Fat Fryer
- Baking tray
- Piping bag
Ingredients
- 200g Self Raising Flour
- 200g Strong White Bread Flour
- 5g Fast Action Dried Yeast
- 3/4 tsp Salt
- 200ml Warmed Milk
- 50g Softened Unsalted Butter
- 75g Beaten Egg
- 20g Golden Syrup
- 1 tbsp Vegetable Oil
- 1 tsp Vanilla
- Granulated Sugar (Coating).
- 200g White Chocolate (Decoration).
- Nutella Spread (Filling is optional).
- Edible Eyes
Instructions
- Tip both flours into a bowl. Add the yeast and salt, and mix well to combine. You can use a stand mixer fitted with a dough hook if you wish. (I used a stand mixer for these doughnuts).
- Heat the milk until warm, either in a small pan or in a heat-proof jug in the microwave. Add the butter, and pour into the bowl. Add the beaten eggs, golden syrup, oil and vanilla extract and mix to combine the ingredients. Increase the speed of the mixer to medium or knead the dough until smooth, elastic and starting to come away from the sides of the mixing bowl.
- Turn the dough out and shape into a neat ball, then place in a lightly oiled bowl, cover and leave for 1 hour, or until doubled in size.
- Cover 2 baking sheets with flour or lightly oiled cling film. Tip the dough onto a work surface and knead for 30 seconds to knock out any large air pockets. Lightly dust the work surface with flour and roll the dough out to a thickness of 1.5cm.
- Using your gingerbread cutter, cut out your doughnuts. Arrange the doughnuts on the lined or floured baking sheets, leaving plenty of space between each one.
- Cover the baking sheets and leave to prove for 45 mins- 1 hour until doubled in size.
- Fill a deep fat fryer according to the manufacturer’s guidelines, or a large heavy-based pan, ensuring it is no more than a third full and the temperature carefully monitored. Heat the oil to 175°C/347°F. Line a cooling rack with a double layer of kitchen paper.
- Fry 3 doughnuts at a time, depending on the width of your pan, for about 1 minute on each side until golden brown. Remove from the pan with a slotted or draining spoon and leave to drain on the kitchen paper for 2 – 3 minutes. Make sure that the oil comes back up to temperature before frying each batch. Leave to cool.
- Once the doughnuts are cool enough to handle, roll them in granulated sugar or powdered sugar.
- Once cooled, if you're filling your doughnuts, pipe in some nutella or jam.
- Decorate with melted white chocolate like mummies and add edible eyes.
- Enjoy! x
Notes
- This recipe is based of Paul Hollywood’s GBBO doughnut recipe with a few changes.
- Homemade fried doughnuts are best eaten fresh on the day you make them, but they’ll keep for 1–2 days in an airtight container. For longer storage, freeze them for up to 2 months and reheat in the microwave before serving.