Easy no bake Easter fudge made with white chocolate, condensed milk and banana flavour, decorated as cute chicks. A fun Easter treat for kids and adults.

Easter Fudge
I’m back with another Easter baking recipe and this one doesn’t involve Mini Eggs or Creme Eggs… shocking, right?! Instead, this is a completely no-bake traybake recipe that’s just as cute, easy, and delicious.
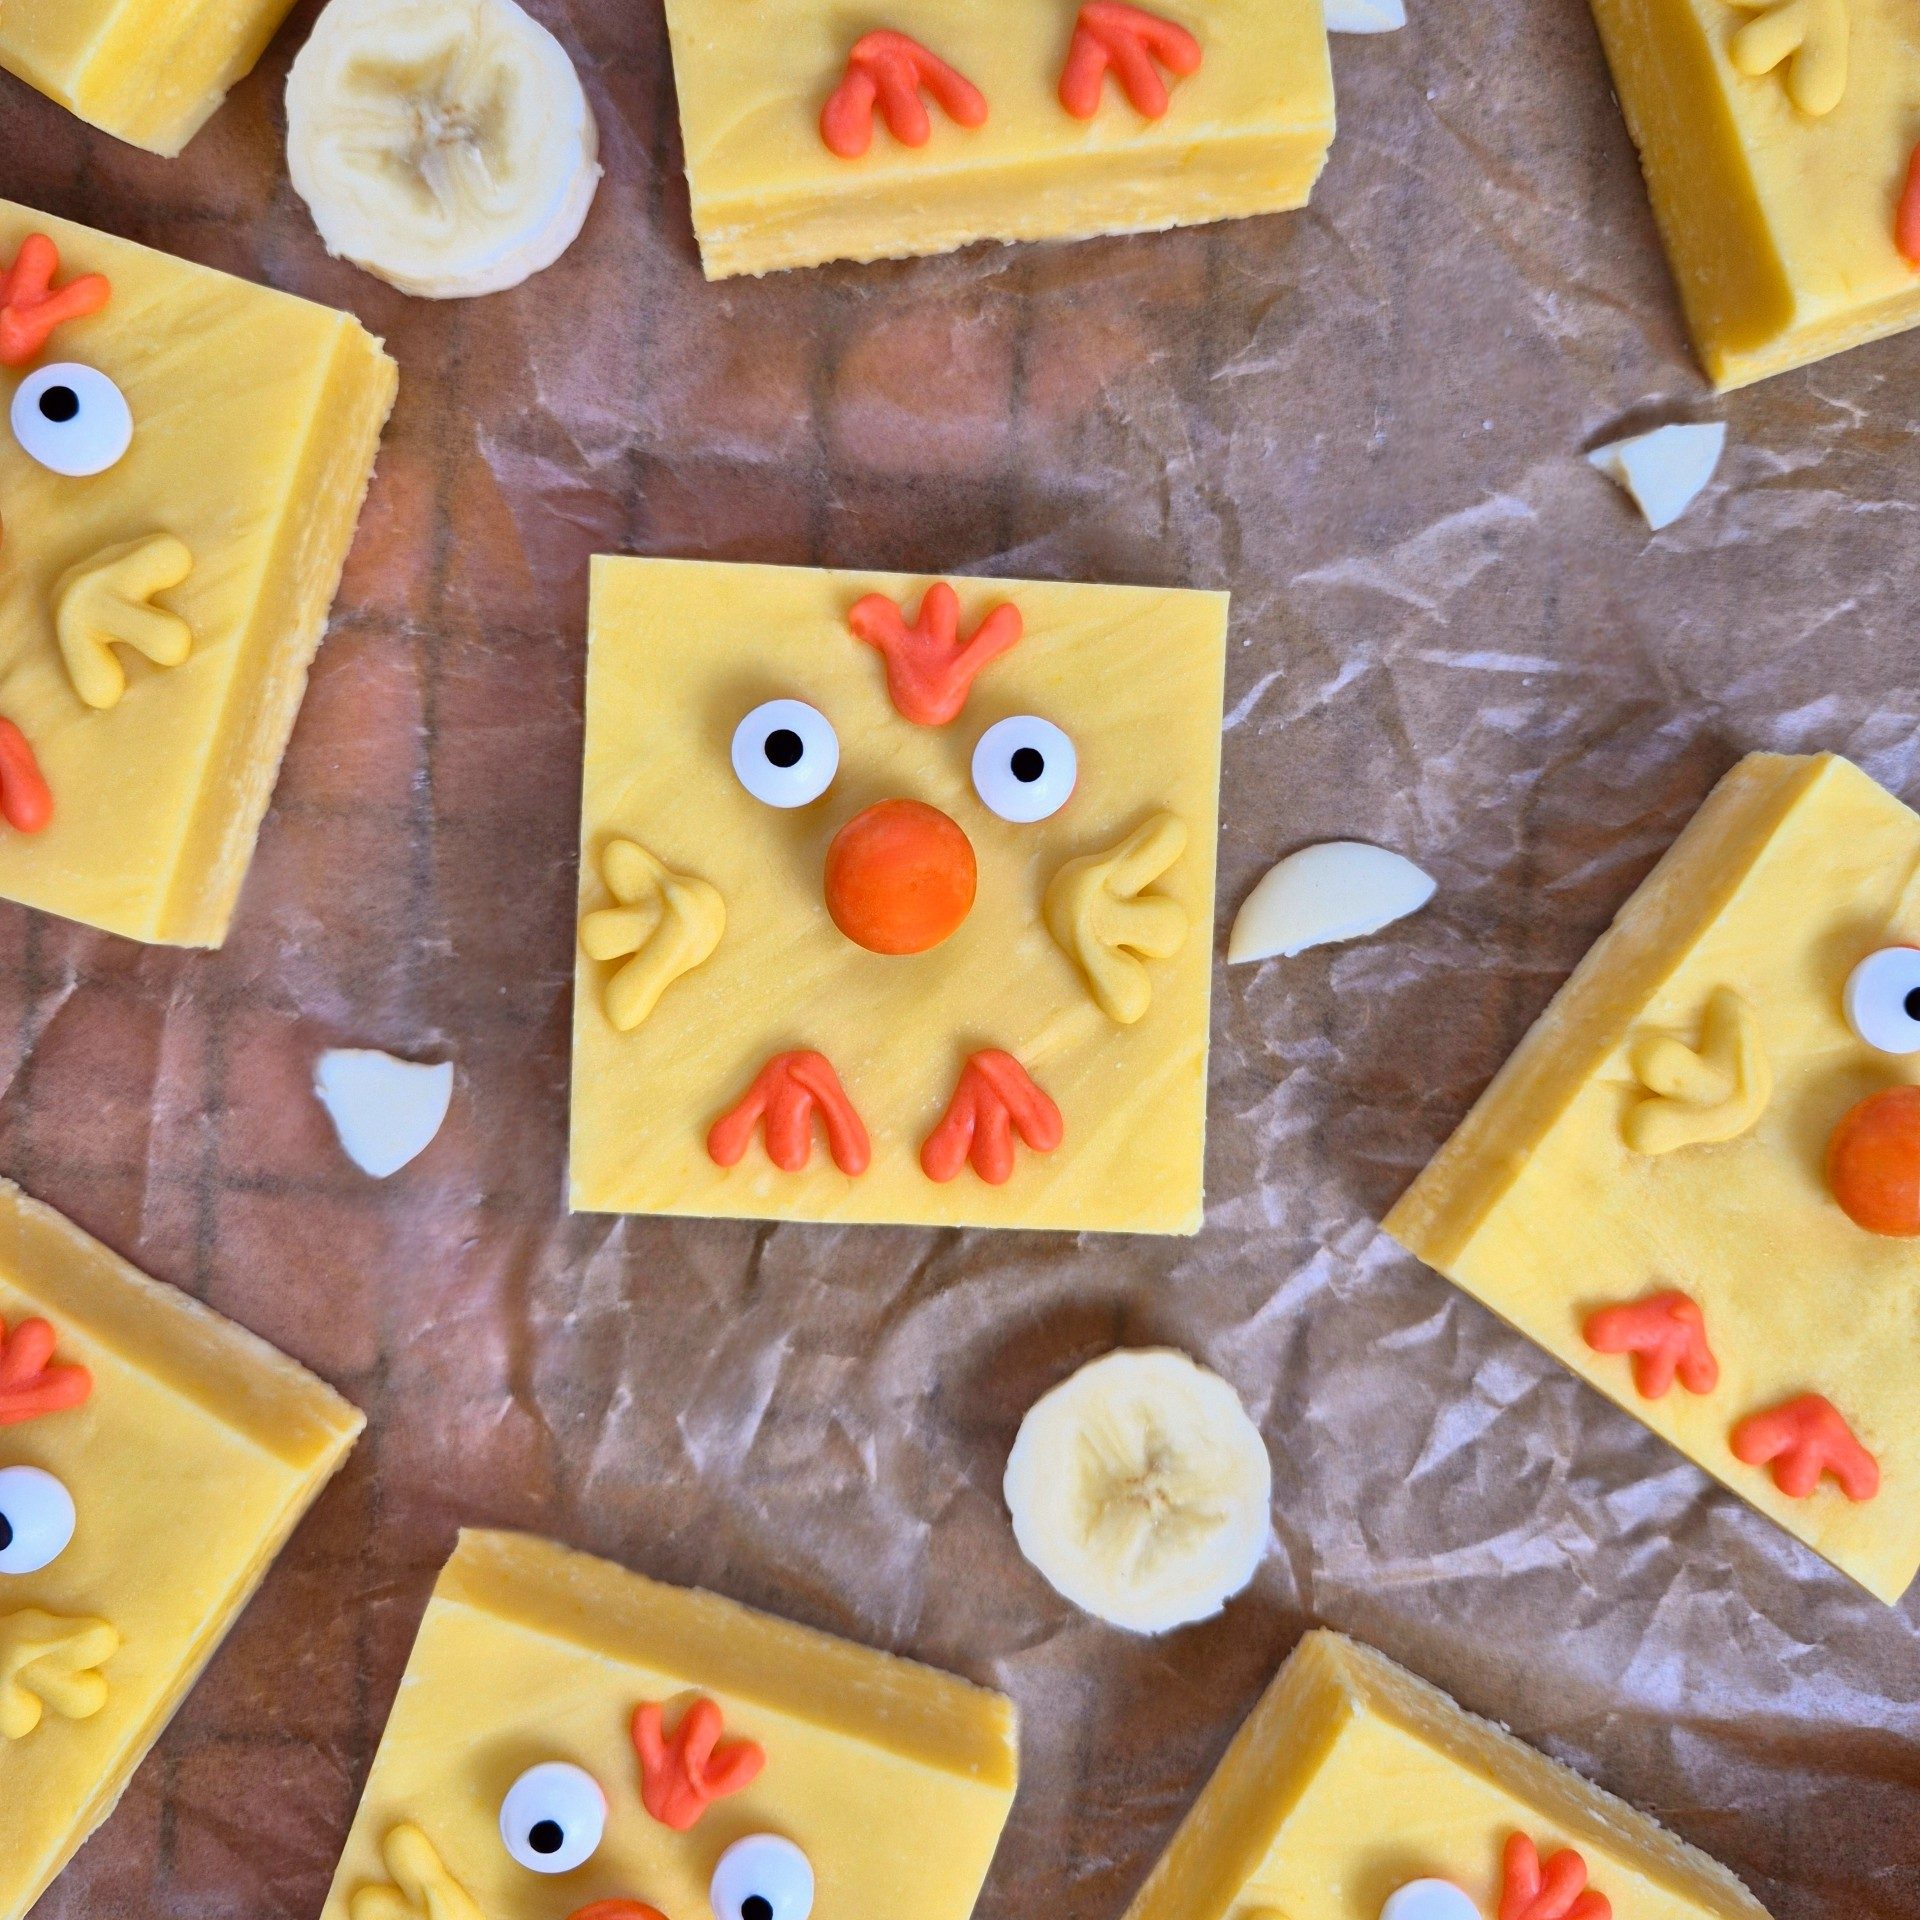
This recipe is a banana-flavoured Easter fudge made with just 3 simple ingredients: white chocolate, condensed milk, and banana powder (I used Nesquik banana powder). I chose a banana flavour to perfectly match the decoration, and honestly… how adorable are these little chick-shaped fudge pieces?!
The fudge is decorated with Smarties, melted chocolate, and edible eyes to create the cutest Easter chicks. It’s fun, festive, and guaranteed to be a hit with both kids and adults. If you’re looking for the perfect Easter treat, this one ticks all the boxes, no bake, easy, traybake, and delicious.
This Easter fudge is incredibly simple to make and only involves a few easy steps. You can make it on the hob or in the microwave, making it ideal for beginner bakers or anyone short on time. Whether you’re after a quick Easter dessert, a fun treat to share with friends, or something cute to take to an Easter party, this recipe is an absolute must-make.


Ingredients
- White chocolate– This forms the base of the fudge and you’ll need 500g. I recommend using a cheaper supermarket own-brand white chocolate, as it sets better. Avoid using Milkybar for the base, as it’s much creamier and can prevent the fudge from setting properly.
- Sweetened condensed milk– This is what makes the fudge so easy and beginner-friendly. Using condensed milk means there’s no need for a candy thermometer or complicated steps. Make sure you use sweetened condensed milk, not evaporated milk, as they are not the same and will not work in this recipe.
- Banana Nesquik powder– This adds that classic banana milkshake flavour with minimal effort, making it perfect for easy Easter baking.
- White chocolate, coloured orange– Used to pipe the chick details. I used Colour Mill to colour my white chocolate.
- Orange Smarties– Perfect for creating the chick beaks.
- Edible eyes– To bring the Easter chick fudge to life and give it that cute, festive finish.
This simple ingredients list makes this no-bake Easter fudge easy, fun, and perfect for beginner bakers, Easter parties, and kids’ treats.

Why You’ll Love This Easter Chick Fudge
This banana Easter chick fudge is the perfect fun and festive no-bake Easter recipe. It’s cute, easy, and incredibly delicious, everything you want in an Easter treat.
- Only 3 main ingredients– Made with white chocolate, condensed milk, and banana Nesquik powder, this recipe couldn’t be simpler.
- No baking required– A true no-bake traybake, perfect for warmer weather or when you don’t want to turn the oven on.
- Beginner-friendly– No candy thermometers, no complicated steps, and minimal effort, making it ideal for first-time bakers.
- Fun and festive– Decorated as adorable Easter chicks, this fudge is guaranteed to impress both kids and adults.
- Perfect for sharing– Great for Easter parties, school treats, bake sales, or gifting.
Tips & Tricks
- Use supermarket own-brand white chocolate– Cheaper white chocolate sets better than creamy brands like Milkybar.
- Do not substitute evaporated milk– Always use sweetened condensed milk or the fudge will not set correctly.
- Melt chocolate gently– White chocolate can seize easily, so melt slowly and stir often.
- Line your tin well– Use baking paper with overhang for easy removal and neat slices.
- Let the fudge set fully– Chill for at least 4 hours or overnight for best results.
- Decorate once set– Adding the chick decorations after the fudge has set helps them hold their shape and look neat.

Frequently Asked Questions
Can I make this Easter fudge ahead of time?
Yes! This no-bake Easter fudge is perfect for making ahead. Store it in an airtight container in the fridge for up to 7 days.
Can I freeze banana fudge?
Yes, you can freeze this fudge for up to 2 months. Wrap it tightly in clingfilm and place in an airtight container. Defrost in the fridge before serving.
Can I use a different flavour instead of banana?
Absolutely. You can swap the banana Nesquik powder for strawberry or chocolate Nesquik to create different flavoured Easter fudge.
Why didn’t my fudge set properly?
This is usually due to using the wrong chocolate or milk. Make sure you use sweetened condensed milk (not evaporated milk) and avoid very creamy white chocolate like Milkybar.
Is this recipe suitable for kids to help with?
Yes! This is a great kid-friendly Easter recipe. Kids can help with mixing and decorating, with adult supervision for melting chocolate.
Do I need to store this fudge in the fridge?
Yes, for best results store the fudge in the fridge to keep it firm and fresh.
Pin It
This banana Easter chick fudge is proof that the perfect Easter treat really does exist. It’s no bake, easy to make, and made with just a few simple ingredients, making it ideal for beginner bakers and busy days.
The creamy white chocolate and banana flavour pairs perfectly with the fun chick decorations, creating a recipe that’s as cute as it is delicious. Whether you’re making it for Easter parties, bake sales, school treats, or gifting, this fudge is guaranteed to bring smiles to both kids and adults.
If you’re looking for a fun, festive, and fuss-free Easter dessert, this no-bake traybake is a must-try. It’s the kind of recipe you’ll come back to year after year.

If you love no bake recipes, easy baking recipes and traybake desserts, Don’t forget to pin it for later and share with your fellow bakers!
Tried this recipe? Leave a comment Below I’d love to hear what you think!
Don’t forget to tag @biteofthebakes on Instagram or use the hashtag #biteofthebakes so I can see your delicious blondies!
Share your bake with our community over on Facebook!
Subscribe to the blog for more easy dessert recipes, baking tips, and exclusive goodies straight to your inbox.
Recommended


Easter Fudge
Ingredients
- 500g White Chocolate
- 300g Condensed Milk
- 60g Banana Powder
- 50g White Chocolate (Decoration. Coloured orange).
- 50g White Chocolate (Decoration. Coloured yellow).
- 9 Orange Smarties
- 18 Edible Eyes
Instructions
- Line an 8×8 inch (20x20cm) square baking tin with baking paper, leaving overhang so the fudge can be easily lifted out once set.
- Break the white chocolate into pieces and add to a microwaveable bowl with condensed milk and melt gently in the microwave in short bursts, stirring between each burst, or over a double boiler until smooth.
- Add the banana Nesquik powder and mix well until smooth and evenly flavoured.
- Pour the fudge mixture into the prepared tin and spread evenly with a spatula. Chill in the fridge for at least 4 hours or until fully set.
- Once set, slice into 9 pieces then decorate. Melt a small amount of white chocolate and colour it orange. Pipe onto the fudge to create chick features. Add orange smarties for beaks and edible eyes to bring the Easter chicks to life.
- Allow the decorations to set. Store in the fridge until ready to serve.