Gooey Kinder Bueno cookies filled with Kinder chocolate and topped with crunchy Bueno pieces. A must-bake for Kinder lovers.

Kinder Bueno Cookies
Firstly, can we talk about the fact that this is my first-ever Kinder Bueno recipe? I honestly can’t believe it! As a huge Kinder Bueno fan, it only felt right to make my debut Kinder bake something truly special and these Kinder Bueno cookies are exactly that.
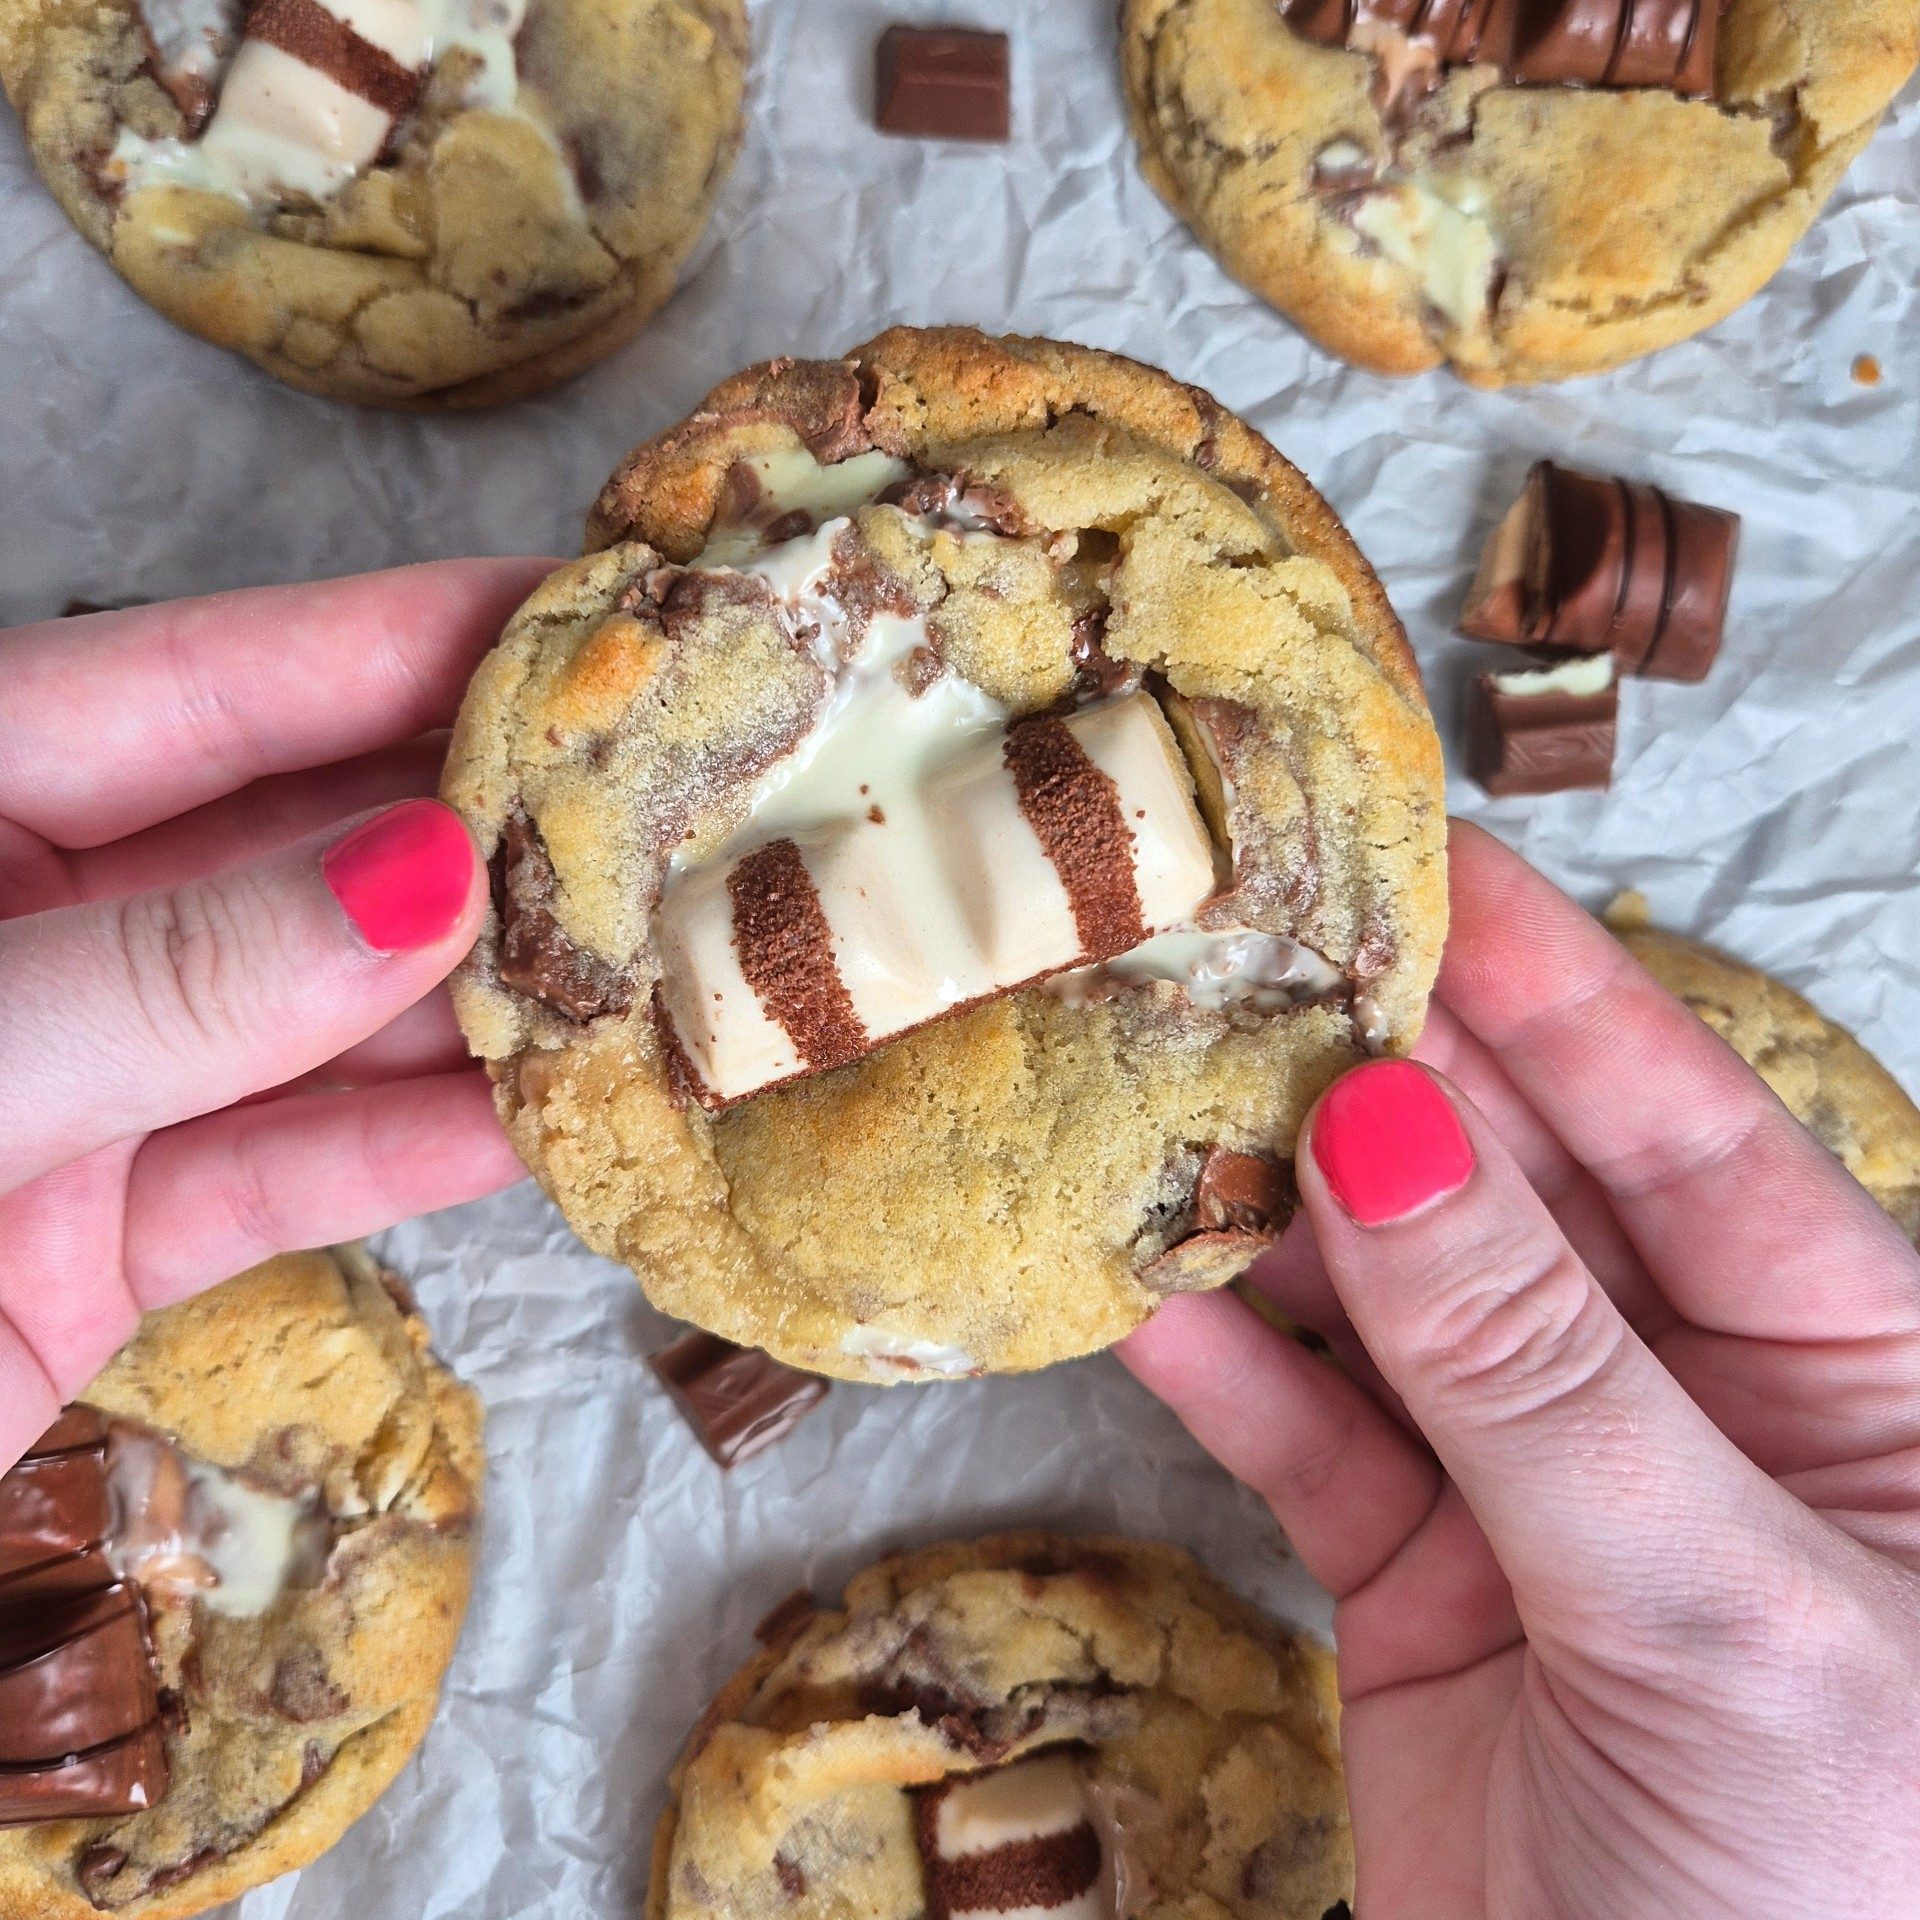
These cookies are soft, gooey, and absolutely packed with Kinder chocolate pieces, then finished with a Kinder Bueno on top for the ultimate cookie. They’re a real Kinder Bueno lover’s dream cookie.
The recipe is adapted from my classic cookie dough, but instead of milk chocolate, the dough is loaded with loads and loads of Kinder chocolate. I chose to use chopped Kinder chocolate pieces inside the cookies and place the Kinder Bueno on top, but you can also add Bueno pieces into the cookie dough if you’d prefer.
Each cookie is filled with creamy hazelnut chocolate, packed with Kinder goodness, and topped with a crunchy Kinder Bueno, honestly, what more could you want from a cookie?

Cookie Dough
When making my cookies, I always use cornflour (known as cornstarch in the US) in the dough. This is one of my go-to baking tips, as cornflour helps create soft, tender, and chewy cookies while allowing them to hold their shape and preventing excessive spreading in the oven.
I also always add a little golden syrup to my cookie dough. While it’s optional, it makes a huge difference to both flavour and texture, adding extra chewiness and richness that takes these cookies to the next level.
It’s important to avoid using self-raising flour when baking cookies, as it can make them rise too much and result in a cakey texture. For best results, always use plain flour for soft and chewy cookies.
For shaping, chilling the dough is key. If you want a classic-shaped cookie, chill the dough in the freezer for 1-2 hours before baking. For a thicker, chunkier cookie, freeze the dough balls for 3-4 hours or overnight, this helps control spreading and gives you that bakery-style finish.

Freezing Cookies
One of the best things about this cookie dough is that it freezes beautifully for up to 3 months. This means you can make a big batch, freeze the dough balls, and bake fresh, warm cookies on demand whenever the craving hits.
The only adjustment you’ll need to make is adding a couple of extra minutes to the baking time when baking from frozen, but that’s it. No thawing required, and you’ll still get perfectly soft and gooey cookies every time.

Filling Tip
These Kinder cookies are filled with creamy hazelnut spread, making them extra indulgent and perfect for any chocolate lover.
For the best results when making stuffed cookies, I recommend freezing your hazelnut spread in an ice cube tray the day before. Freezing the filling makes it much easier to stuff into your cookie dough and helps reduce spreading during baking. Because the spread is liquidy at room temperature, adding it directly can cause the cookies to flatten too much.
Once your spread cubes are frozen, you can assemble your cookies and even freeze them briefly before baking if you like. If your cookies do spread slightly while baking, using a cookie ring is a great way to keep them perfectly round.
This simple trick ensures your Kinder-stuffed cookies look as good as they taste, with a gooey hazelnut centre every time.

Ingredients
- Butter- I use unsalted butter for these chocolate chip cookies, Unsalted butter gives you full control over the salt content in your cookie dough! It creates a rich, buttery base and Using room-temperature butter helps cream it smoothly with sugar, giving your cookies a perfectly soft and chewy structure.
- Sugar- Caster sugar adds sweetness and helps achieve slightly crispy edges, giving that classic bakery-style cookie finish. You can use a mix of caster sugar and light brown sugar if you’d prefer. light brown sugar will add a slight caramel flavour!
- Eggs- Eggs provide structure, stability, and moisture. They help bind the ingredients together and contribute to that soft and rich interior that makes cookies irresistible. This recipe uses one large egg and 1 egg yolk for the perfect consistency. I like to add an extra egg yolk as it makes the cookies richer, softer and chewier cookie!
- Raising Agents-I use baking powder and bicarb for these cookies. Baking powder helps to make the cookies rise, and maintain a risen structure. Bicarb reacts with the sugar which gives the cookies rise and softness without being cakey!
- Salt- Adding 1/2tsp salt really enhances the flavour of the cookies!
- Flour- I use plain flour for these cookies then add my raising agents. this is also known as all purpose flour!
- Cornflour- Adding cornflour makes the texture even better so don’t skip this! it is also known as corn starch! if you don’t have access to this, don’t worry you can still make delicious cookies! just add 20g more plain flour!
- Golden Syrup- A game-changer for the perfect cookie texture! Golden syrup keeps the cookies moist and adds a light chewiness. It helps bind the ingredients while enhancing the overall flavour. If you’re looking for gooey, soft-centred cookies, golden syrup is a must.
- Kinder chocolate bars– Chopped into chunks and mixed throughout the dough.
- Kinder Bueno bars– Used for topping once baked.
- Hazelnut chocolate spread (such as Nutella or Kinder-style spread)- For stuffing the cookies.


Tips & Tricks
- Thick, bakery-style cookies– Freeze the cookie dough for a few hours or overnight to achieve thick, chunky cookies. Add a few extra minutes to baking time if baking from frozen.
- Bakery-style presentation– Press a few extra chocolate chips on top of each cookie before baking for that professional, indulgent look.
- Soft, gooey centres– Don’t over-bake! Cookies should be soft in the middle when removed from the oven; they will firm up as they cool.
- Chewy, golden edges– Follow baking times carefully for the perfect balance of soft centre and slightly crisp edges.
- Use Golden Syrup- Don’t forget the golden syrup, it is a game changer! It is also known as light treacle or golden treacle. You could use honey as well for a similar effect!
- Customise your cookies– Add more chocolate, nuts, or mix-ins to create your ideal cookie!
- Don’t use self-raising flour– This will make cookies cakey. Plain flour is best for soft and chewy cookies.
- Don’t overbake– Cookies should look slightly underbaked in the centre when removed from the oven.
- Freeze your hazelnut spread before stuffing– Freeze your spread in an ice cube tray the day before filling your cookies. This makes stuffing easier, prevents the filling from being too runny, and helps your cookies hold their shape while baking.
- Use a cookie ring if cookies spread– Even with frozen filling, cookies can spread slightly in the oven. A cookie ring helps keep them round and evenly shaped.
- Adjust wet dough with flour– If your cookie dough feels too sticky or wet, add a tablespoon of flour at a time until the mixture is no longer sticking to your hands. This helps your cookies bake evenly without losing their gooey centre.

Frequently asked questions
Can I make these without stuffing?
Absolutely. The cookies are still delicious without stuffing thanks to the Kinder chocolate pieces.
Do I have to use golden syrup?
I’d Absolutely try adding golden syrup to your cookies! Golden syrup adds chewiness, but you can substitute it with honey or maple syrup if needed.
How do I store these cookies?
Keep in an airtight container at room temperature for up to 5 days, or freeze baked cookies for up to 3 months.
How do I get perfect shaped cookies?
Cookie rings! I love using cookie rings, they’re so easy to use. You simply swirl the cookie ring around the baked cookie to shape it perfectly circle! or you could bake the cookies in the cookie ring too! these are the cookie rings i use!

Recommended Equipment
- Stand Mixer (I use this one from Morphy Richards that has built in scales and a timer! Use code BITEOFBAKES for 20% off)!
- Electric Hand Whisk
- Cookie Rings
- Baking Trays
I earn a small amount of money if you buy the products after clicking on the links. You will not be charged anything extra for this! Thank you for supporting biteofthebakes!

Pin It
These gooey Kinder Bueno cookies are rich, indulgent, and packed with chocolatey hazelnut flavour. If you’re a Kinder Bueno fan, this recipe is an absolute must-bake. Soft centres, chewy edges, and topped with Kinder Bueno, what more could you want from a cookie?

Loved this cookie recipe? Don’t forget to leave a comment and star rating below! Share your cookie creations with me on Instagram @biteofthebakes or use the hashtag #biteofthebakes I’d love to see them!
want more easy, delicious baking recipes? Save this post to Pinterest and subscribe to the blog so you never miss a new delicious bake! (click on the photo).
Don’t want to miss a delicious dessert recipe? Subscribe here to get notified when a new recipe comes to the blog!
Recommended


Kinder Bueno Cookies
Ingredients
- 120g Unsalted Butter
- 200g Caster Sugar
- 1 Medium Egg
- 1 Egg Yolk
- 1 Tsp Baking Powder
- 1/2 Tsp Bicarbonate Of Soda
- 1/2 Tsp Salt
- 280g Plain Flour
- 20g Cornflour
- 15g Golden Syrup
- 300g Kinder Chocolate Chunks
- 9 Kinder Bueno Pieces
- 9 Tbsp Hazelnut Spread
Instructions
- If you want to freeze your hazelnut spread beforehand, spoon it into an ice cube tray and freeze overnight. This makes stuffing your cookies easier, but it’s not essential, you can also pipe the filling on the day and simply freeze the assembled cookies for longer before baking.
- I use a stand mixer with the paddle attachment, mix the room temperature butter and caster sugar together until combined. This will take 1-2 minutes in an electric mixer (I use speed 3).
- Add the dry ingredients (Baking Powder, Salt, Bicarb, Plain Flour, Cornflour and Chocolate) into the bowl and mix for 30 seconds.
- Add in your egg, egg yolk and golden syrup into the mixture and mix until a cookie dough is formed (the dough will start coming away from the bowl which means it is ready!)
- Divide the dough into cookie balls, I weighed the dough out to make each cookie 110g-120g each!
- Place them on a lined baking tray, or into a container lined with baking paper. Chill them in the freezer for 1-2 hours.
- While your dough is chilling, pre-heat your oven to gas mark 5/190c/170c Fan.
- Once chilled and your oven is pre-heated, place the cookie balls onto lined baking trays, leaving space (at least 2") between them to spread slightly. I fit 6 cookies onto my tray but you could bake your cookies in batches!
- Bake for 12-14 minutes, remove from the oven, top with a Kinder Bueno piece and leave the cookies to cool on the baking tray completely before moving. Your cookies will continue to cook once removed from the oven which makes the best gooey, soft and chewy cookies!
- Once cooled, eat one of those delicious cookies (if you was able to resist from eating one straight out of the oven!)